Wednesday, April 15, 2020

Virtual Vespers for 4.14.20


Another week of Virtual Vespers!

To start it off, we're LIVE from 4-H Camp again - but not on Vespers Island...no, we're taking an exclusive trip to a rarely seen corner of Camp...the bunkhouse kitchen!


Monday, April 13, 2020

Tech Free Challenge: Shanna's Sunshine S'mores!


Time for some Campy snacks that require just a few random supplies and a sun-shiney day, courtesy of Shanna!


Step One: Gather Supplies 


- First get your S’mores ingredients together. If you don’t have an ingredient, get creative! Use a cookie instead of a graham cracker or bananas instead of a marshmallow. Make a combination out of food you already have in the house. 


- Then gather up your supplies for the solar oven! You will need:

· Scissors

· Tape

· Glue Stick

· Aluminum Foil

· Plastic Wrap

· Pencil/Stick/Anything that can be used to prop up the box

· Box with flap (pizza box, shoe box). You can use any size. If you don’t have a box with a flap, you can tape one of the sides to the lid. If box has any holes, you can tape over these.


Step Two: Prep Your Box


- Patch any holes or attach the lid to your box if you don’t have a lid that is already attached.

 Step Three: Starting Your Solar Oven


- Cut hole in lid on three sides to create a flap


Step Four: Aluminum Foil


- Using your glue stick, cover inside of flap with aluminum foil. This will be propped up when cooking to reflect the sun into your oven.

- Then line the bottom of your box with...


Step Five: Plastic Wrap


- Cover both sides of opening on lid with a layer of plastic wrap. This will allow the sunlight to radiate into your oven, but then trap the heat inside.


Step Six: Place Your Oven


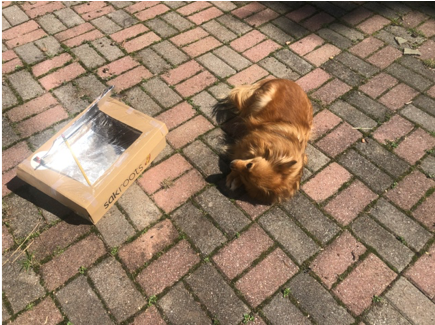
- Your Solar Oven is done!! Place box in an area with as much direct sunlight as possible. Kat decided to join me for the cooking process.

- You can place your oven in front of a window that receives sunlight or place it outside.

- The more direct sunlight, the quicker your food will cook.


Step Seven: The Prop

- As you can see in the last picture, I attempted to use one pencil as a prop, but the wind disagreed with this idea, and kept blowing down the flap. So, I tried two pencils!

- Unfortunately, the wind did not like this idea either. After a few other failed attempts, I found that taping the pencil to the flap and lid was the best option for me.


Play around with your prop for the lid to find the best way to keep the flap up.


Step Eight: Preheating

- And then we wait…

- I preheated for about 30 min. But you may want to do a little longer depending on how direct the sunlight is.


Step Nine: Prepare S’mores…or whatever food combination your are using


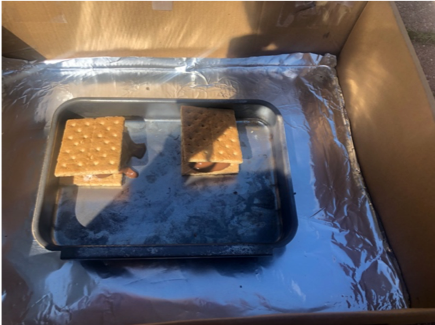
- For S’mores the chocolate melts much quicker than the marshmallow, so only place the marshmallow and graham cracker in first.

- I used a baking tray, and placed my S’mores in the oven using this, but you can also place them in directly.


Step Ten: Bake


- Depending on the temperature and sunlight this can take a while for the marshmallow to soften. It took mine about an hour.


Step Eleven: Add Chocolate

- Once marshmallow is soft, place chocolate and graham cracker and smush down. Wait another 15-30 min.

- Try to place the chocolate as quickly as possible to prevent heat from escaping

Step Twelve: Results! 

- After the chocolate is melted, you are ready to eat!


Are there easier ways to make S’mores at home? Probably. But why do that when you can take two hours to make a solar oven cooked S’more?


And, if it doesn't quite heat up - a rare (or raw) s'more is a pretty Campy treat too!


Friday, April 10, 2020

Virtual Vespers for 4.9.20


That's Virtual Vespers for this week! Everyone have a lovely weekend, and we'll see you back at the island next Tuesday!

Wednesday, April 8, 2020

Virtual Vespers for 4.7.20


We're back for another week of Virtual Vespers!

So, please welcome to the island, our very own...Mister Timmy Florio!


Tuesday, April 7, 2020

Tech Free Challenge: Cassidy's Camp Journal

Time for some tech-free introspection, reflections and imagination, courtesy of Cassidy!


Hey camp family! 

Right now we are all at home, but that does not mean that we can’t use our camp spirit and do some camp journaling! I really love journaling because it helps me center my mind and feel calm and peaceful amidst our crazy world.

It is super simple to do too. You can use your favorite notebook or a plain sheet of paper or maybe even a sticky note. 

If you need some inspiration, here are some of the things I’ve been journaling about in our new world. So grab your favorite pen, pencil, crayons, etc. and get to create. The world is at your fingertips!


You can answer the following prompts in whatever way you choose! You can free-write or draw, you can create a poem, a story, or more. Whatever your imagination comes up with!


1. What are you missing during this different time that you will appreciate more in the future?


2. What is a camp memory you find yourself thinking of often and why?


3. If you were at camp right now, what would you be doing?


4. Is there a lesson you learned at camp that you were able to apply to your life recently?


5. If you could write someone at a camp a kind message, what would you write and who would it be for?


6. What is your favorite part about nature/being outside?


7. What are 3 goals that you have for yourself and want to accomplish in the next few days, weeks, months?


8. What camp song do you get stuck in your head WAY to often?


Thanks for journaling with me! Be sure to share your thoughts with the camp community!

Friday, April 3, 2020

Tech Free Challenge: Chelsea's Tie-Dye Coffee Filters!

Time for some Campy Arts and Crafts from the comfort of your own home, courtesy of Chelsea!


If you give it a try, please take some pictures and send them our way to be featured on the blog!

Take it away, Chelsea:


STEP BY STEP (WITH PICTURES!): 


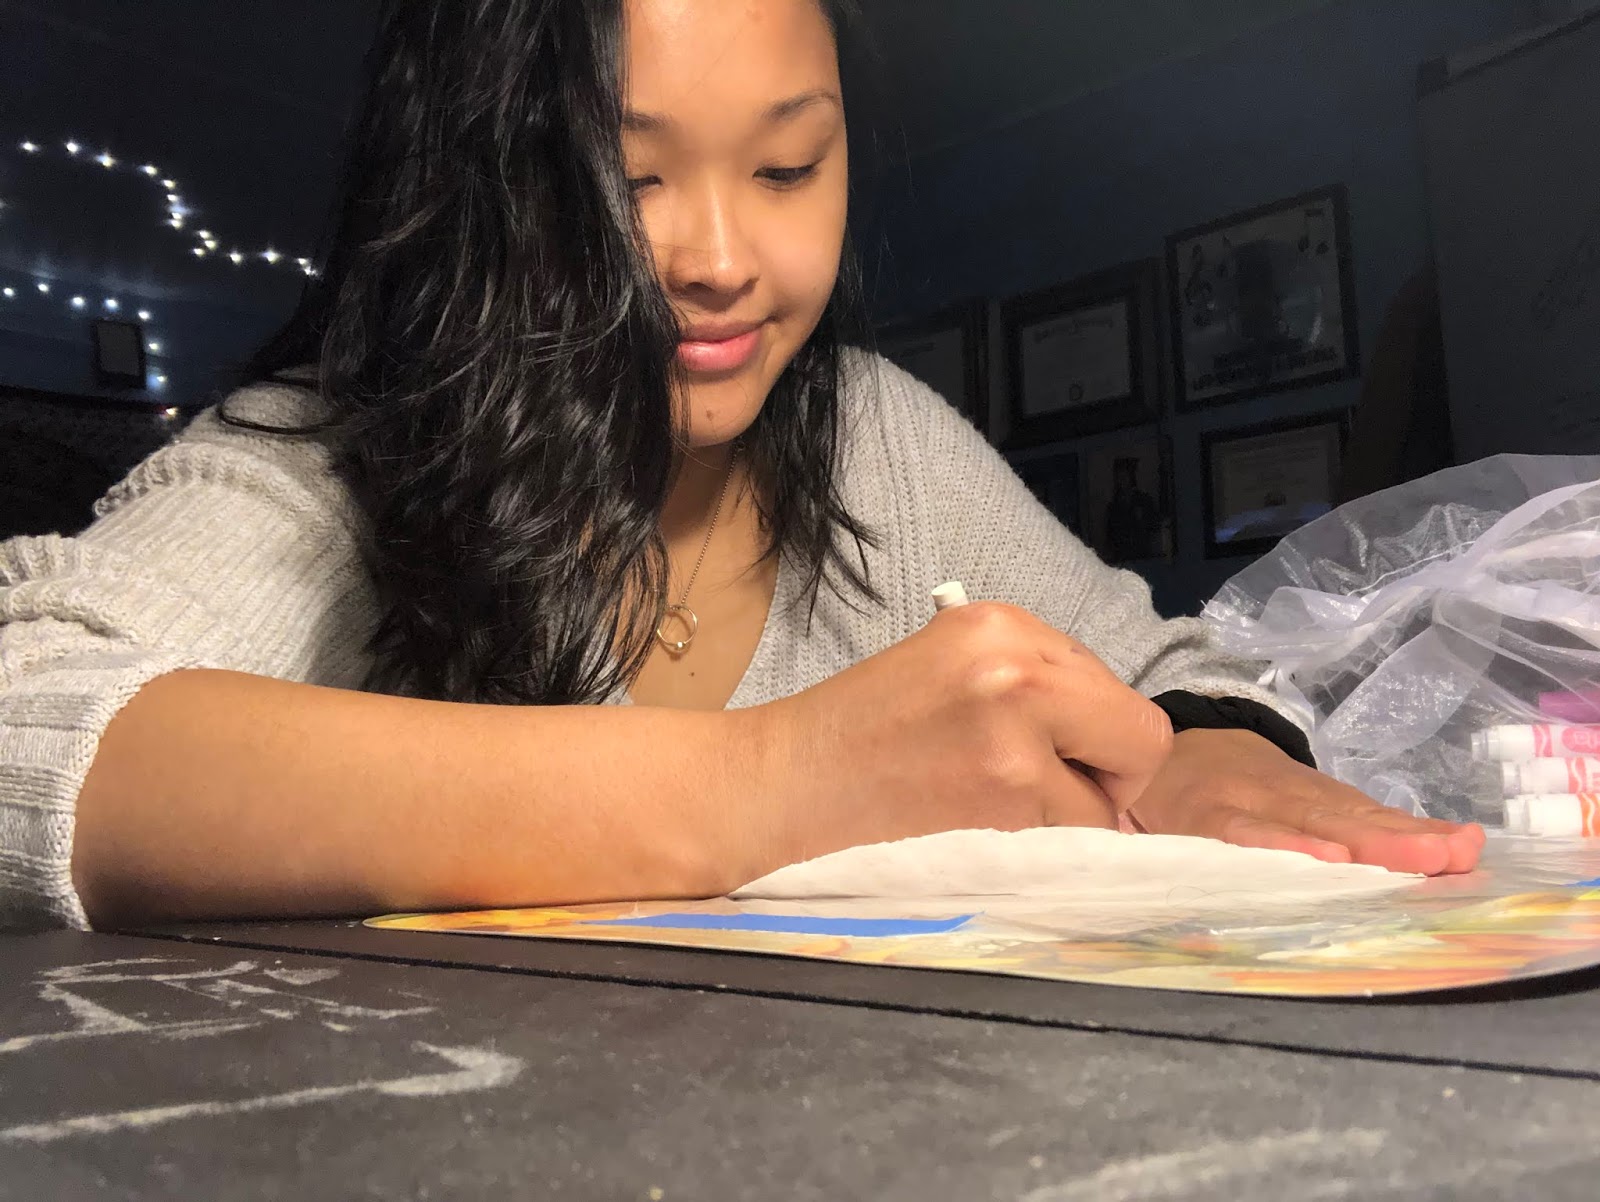
1) Before you starting coloring your coffee filter and/or decorating it with a white crayon, gather your materials and place a plastic material (e.g. trash bag, tray, etc.) underneath the surface you are work with because the colors will bleed through the coffee filter and will get on the table. 


2) I opted to use a white crayon first to draw a design on my coffee filter, but you do not have to! 


3) Then, I used various colors of water soluble markers (e.g. crayola) to color my coffee filter. 


4) Afterwards, I used a spray bottle filled with water to "dye" my coffee filter... 


(A little water goes along way and the colors will start to bleed together). 

Watch the colors mix and create a tie dye illusion!

5)  If you opted to use a white crayon to draw a design first, you'll notice the colors resisting to mix with the crayon and it will appear more once fully dried. Leave to dry and do not move it or the colors will get everywhere!! 


Ta-Da!
------

Special thanks to Chelsea for finding Summer Camp magic in everyday household items. Now it's your turn to give it a try, and let us see how it turns out!

Virtual Vespers for 4.2.20


See you back on Vespers Island next week!

Wednesday, April 1, 2020

Virtual Vespers for 3.31.20

As promised, to bring a little Summer Camp to you a bit early, in the spring, and at home, we'll be sending some evening Vespers your way. 

Tuesday-Thursday (the Camp nights that Vespers are held), they'll arrive at 7pm on our instagram, and be available the next day here on the Camp Blog.

Here's the premiere!